Books

APAAR ID is a unique Aadhaar-based Academic ID under the One Nation One Student ID initiative. Learn APAAR ID full form, registration process, online login, form fill-up steps, and how to download your APAAR ID card.
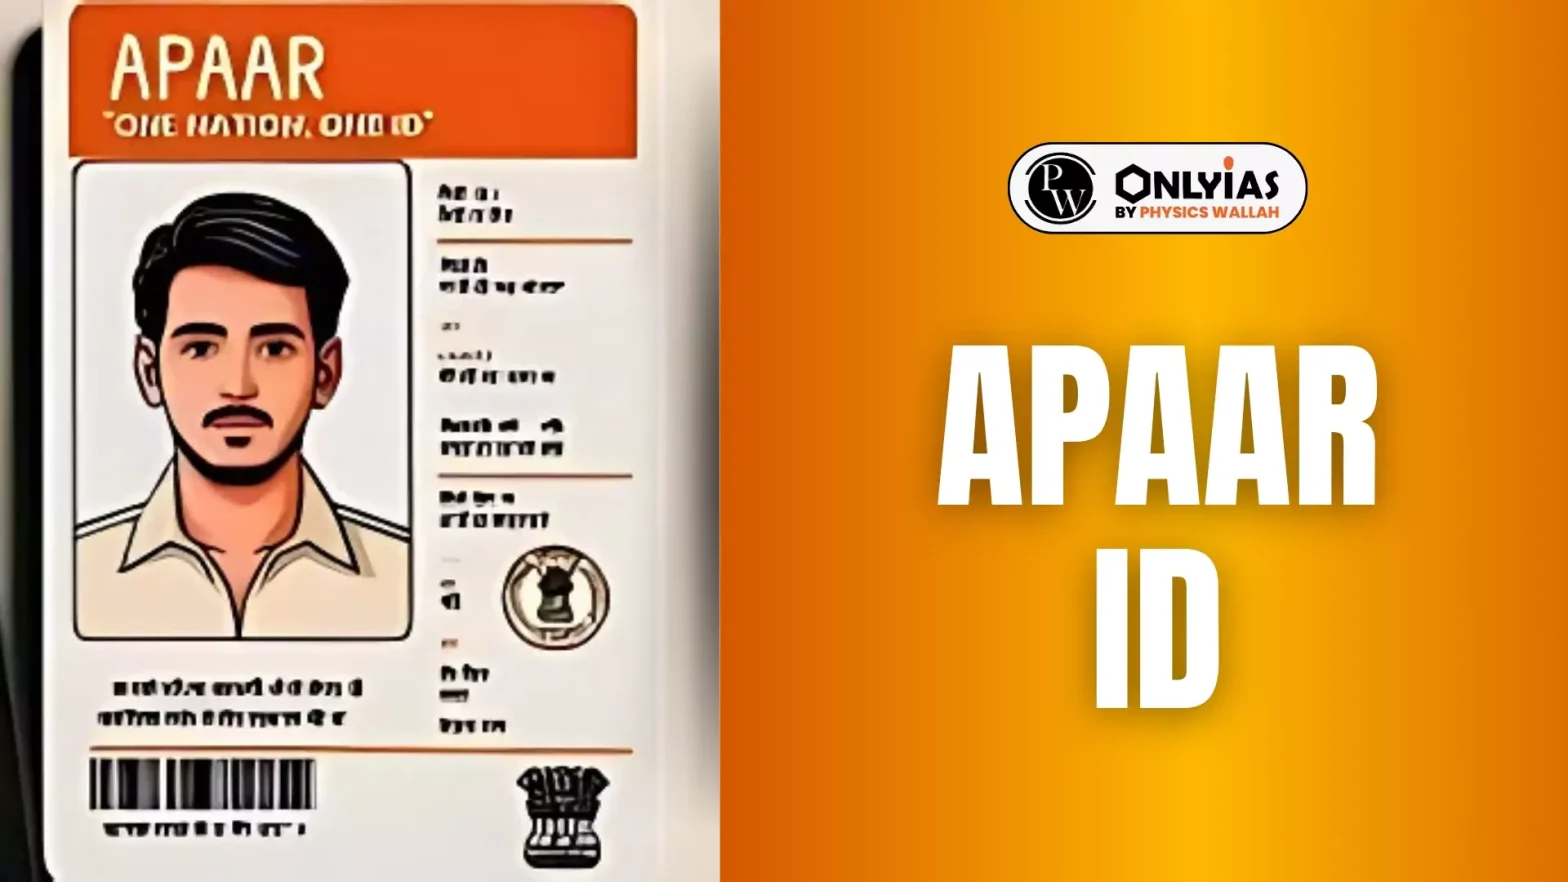
APAAR ID is a unique identification card issued for specific purposes, providing streamlined access and identity verification across platforms. It stands for Automated Personnel & Administration Recording ID and is used for various official purposes. The Automated Permanent Academic Account Registry (APAAR) ID was introduced in July 2023. This unique identification number for students in India is based on Aadhaar and is a key component of the government’s “One Nation, One Student ID” initiative. Keep on reading to learn more about what is APAAR ID, how to register, where to download, and how to access essential resources related to APAAR ID.
APAAR ID is a personalized identification system developed to simplify identity verification and official procedures for employees and users. It is designed for streamlined access to resources, facilities, and services linked to specific government or organizational sectors. APAAR ID cards contain essential details and can also be accessed digitally for easy verification and records management.
APAAR ID stands for Automated Personnel & Administration Recording ID. The purpose of the APAAR ID is to maintain accurate personnel records, allowing seamless access to information, credentials, and service-related details. It is used to ensure efficient administration, tracking, and identification of personnel, which is especially useful in official and government sectors.
Students who fulfill the required criteria can simply apply for the ID from its official website. Here is the procedure through which you can get the APAAR ID:
The registration process for APAAR ID is straightforward and typically involves creating a profile on the official APAAR website. Ensure that all the data provided is accurate, as discrepancies may delay issuance or result in rejection. After registration, regularly check your email or website profile for status updates.
Step 1: Visit the official website (www.abc.gov.in/) and access the registration portal.
Step 2: Click on ‘My Account’ and then ‘Student’.
Step 3: If you have a DigiLocker account, then log in. If not, then click on ‘Sign up’. Add your mobile number, address, and Aadhaar card details.
Step 4: After that, for KYC verification, DigiLocker will ask for permission to share your Aadhaar card information with ABC.
Step 5: Choose ‘I agree’, and add your academic information as required.
Step 6: Submit the form, your APAAR ID card will be generated.
After successful verification, the APAAR ID can be downloaded from the official APAAR ID website. Log in to your account, access the ID card section, and download the ID in PDF or other provided formats. This digital copy can serve as your identity verification tool across different platforms where APAAR ID is required.
The APAAR ID system provides a unique identification tool designed to streamline verification and data management for personnel. Its advantages lie in enhancing security, enabling centralized records, and supporting efficient administrative processes across digital and official platforms.
Ready to boost your UPSC preparation? Join PW’s UPSC online courses today!
Check Out UPSC CSE Books
Visit PW Store
Explore UPSC Test Series

APAAR ID is a unique Aadhaar-linked Academic ID introduced under the One Nation One Student ID initiative to store and verify a student’s academic records digitally.
Students can generate their APAAR ID by logging into the ABC portal via DigiLocker, completing Aadhaar KYC, and submitting academic details.
Yes, once approved, you can download the APAAR ID card from the official website by logging into your account.
APAAR ID provides secure and efficient identification for personnel, ensuring access to specific resources, records, and administrative services.
Visit the official APAAR ID website for detailed information on registration, verification, and support.


Explore SRIJAN Prelims Crash Course

Connect with our experts to get free counselling & start preparing
Books
Udaan (Prelims Wallah)
Prahaar (Mains Wallah)
Q&A Bank (Prelims & Mains)
Budget & Economic Survey
NCERT Wallah
Marks Booster
हिंदी माध्यम विशेष शृंखला
 Current Affairs
Monthly Current Wallah
Subject Wise Current Affairs
Editorial Analysis
Editorial PDFs
News of The Day
Download Our App


Download Our App
<div class="new-fform">
</div>
 GS Foundation
 Optional Course
 Combo Courses
 Degree Program